SpaceVim
A modular Vim/Neovim configuration
Home | About | Quick start guide | Documentation | Development | Community | Sponsors | 中文
Blogs » Use Vim as a Perl IDE
This is a general guide for using SpaceVim as a Perl IDE, including layer configuration and usage. Each of the following sections will be covered:
- Enable language layer
- Code completion
- Syntax linting
- Jump to test file
- running code
- Code formatting
- REPL support
Enable language layer
To add Perl language support in SpaceVim, you need to enable the lang#perl layer. Press SPC f v d to open
SpaceVim configuration file, and add the following snippet:
[[layers]]
  name = "lang#perl"
For more info, you can read the lang#perl layer documentation.
Code completion
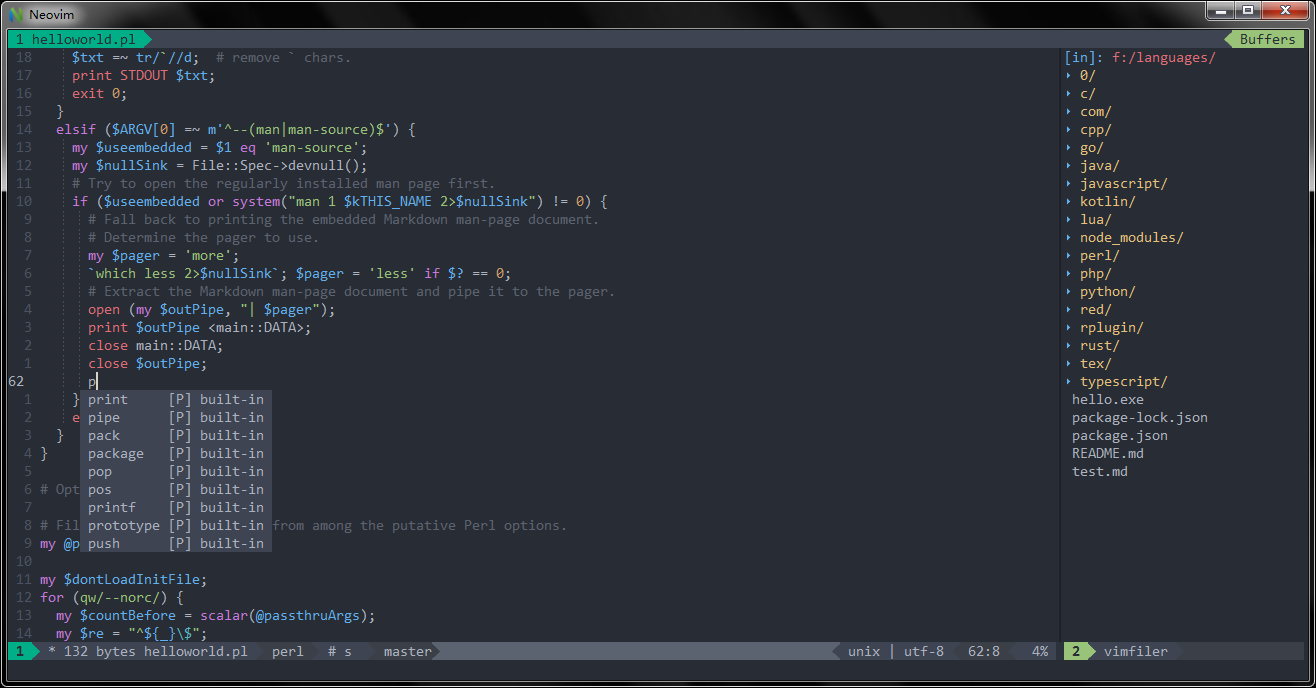
lang#perl layer will load the Perl plugin automatically, unless it’s overriden in your init.toml.
The completion menu will be opened as you type.

Syntax linting
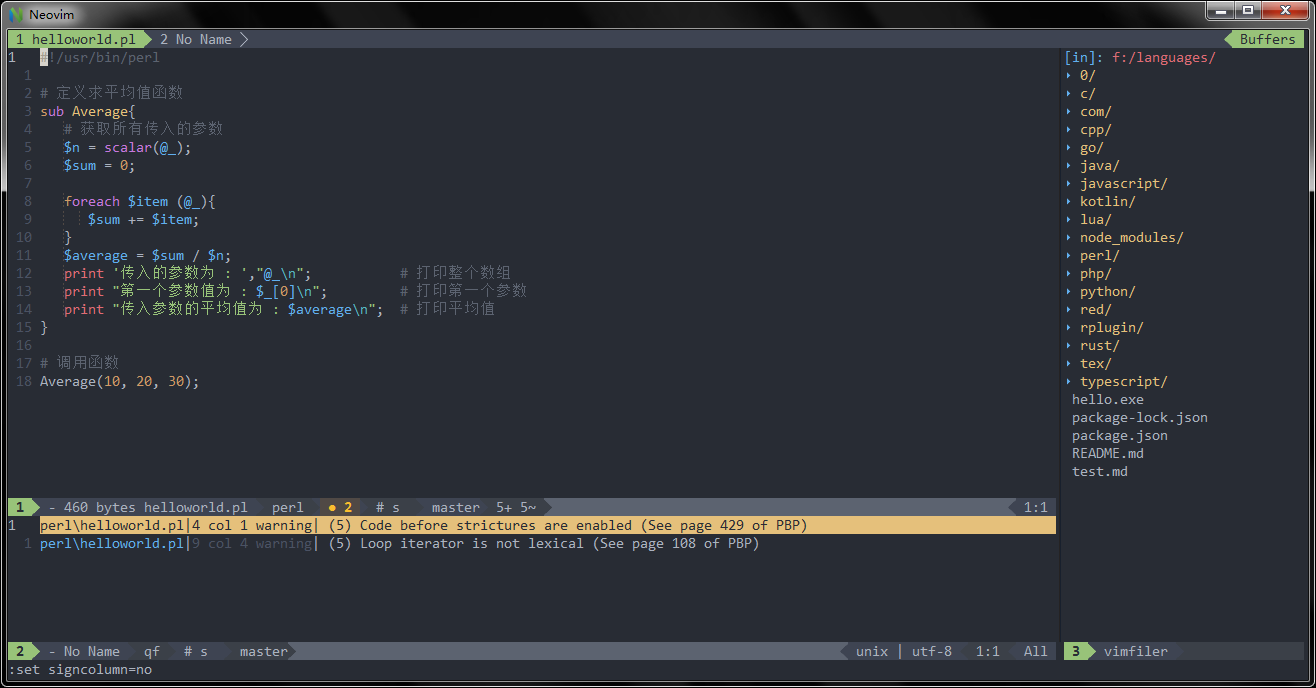
The checkers layer is enabled by default. This layer provides asynchronous syntax linting via neomake. It will run Perl and perlcritic asynchronously.
Install perlcritic via cpan:
cpanm Perl::Critic

Jump to test file
SpaceVim use built-in plugin to manager the files in a project, you can add a .project_alt.json to the root of your project with the following content:
{
  "src/*.pl": {"alternate": "test/{}.pl"},
  "test/*.pl": {"alternate": "src/{}.pl"}
}
With this configuration, you can jump between the source code and test file via command :A
running code
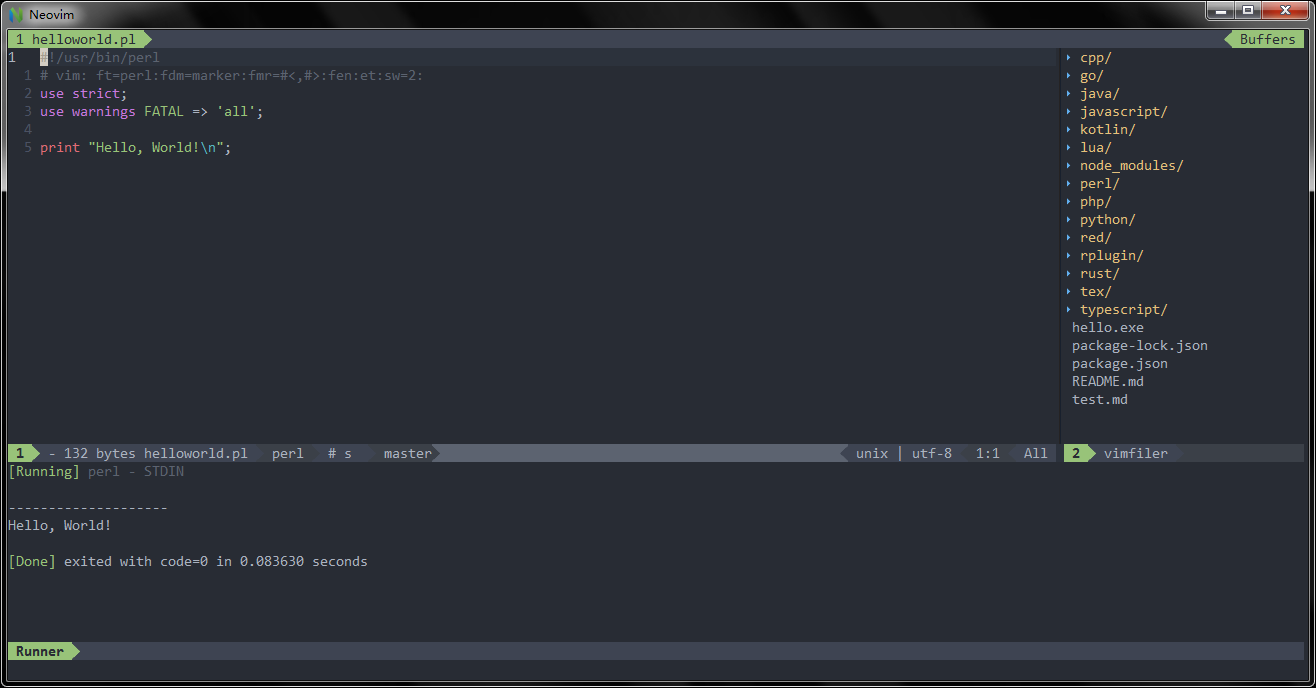
To run current script, you can press SPC l r, and a split window
will be openen, the output of the script will be shown in this window.
It is running asynchronously, and will not block your Vim.

Code formatting
The format layer is also enabled by default. With this layer you can use key binding SPC b f to format current buffer.
Before using this feature, please install perltidy:
cpanm Perl::Tidy
REPL support
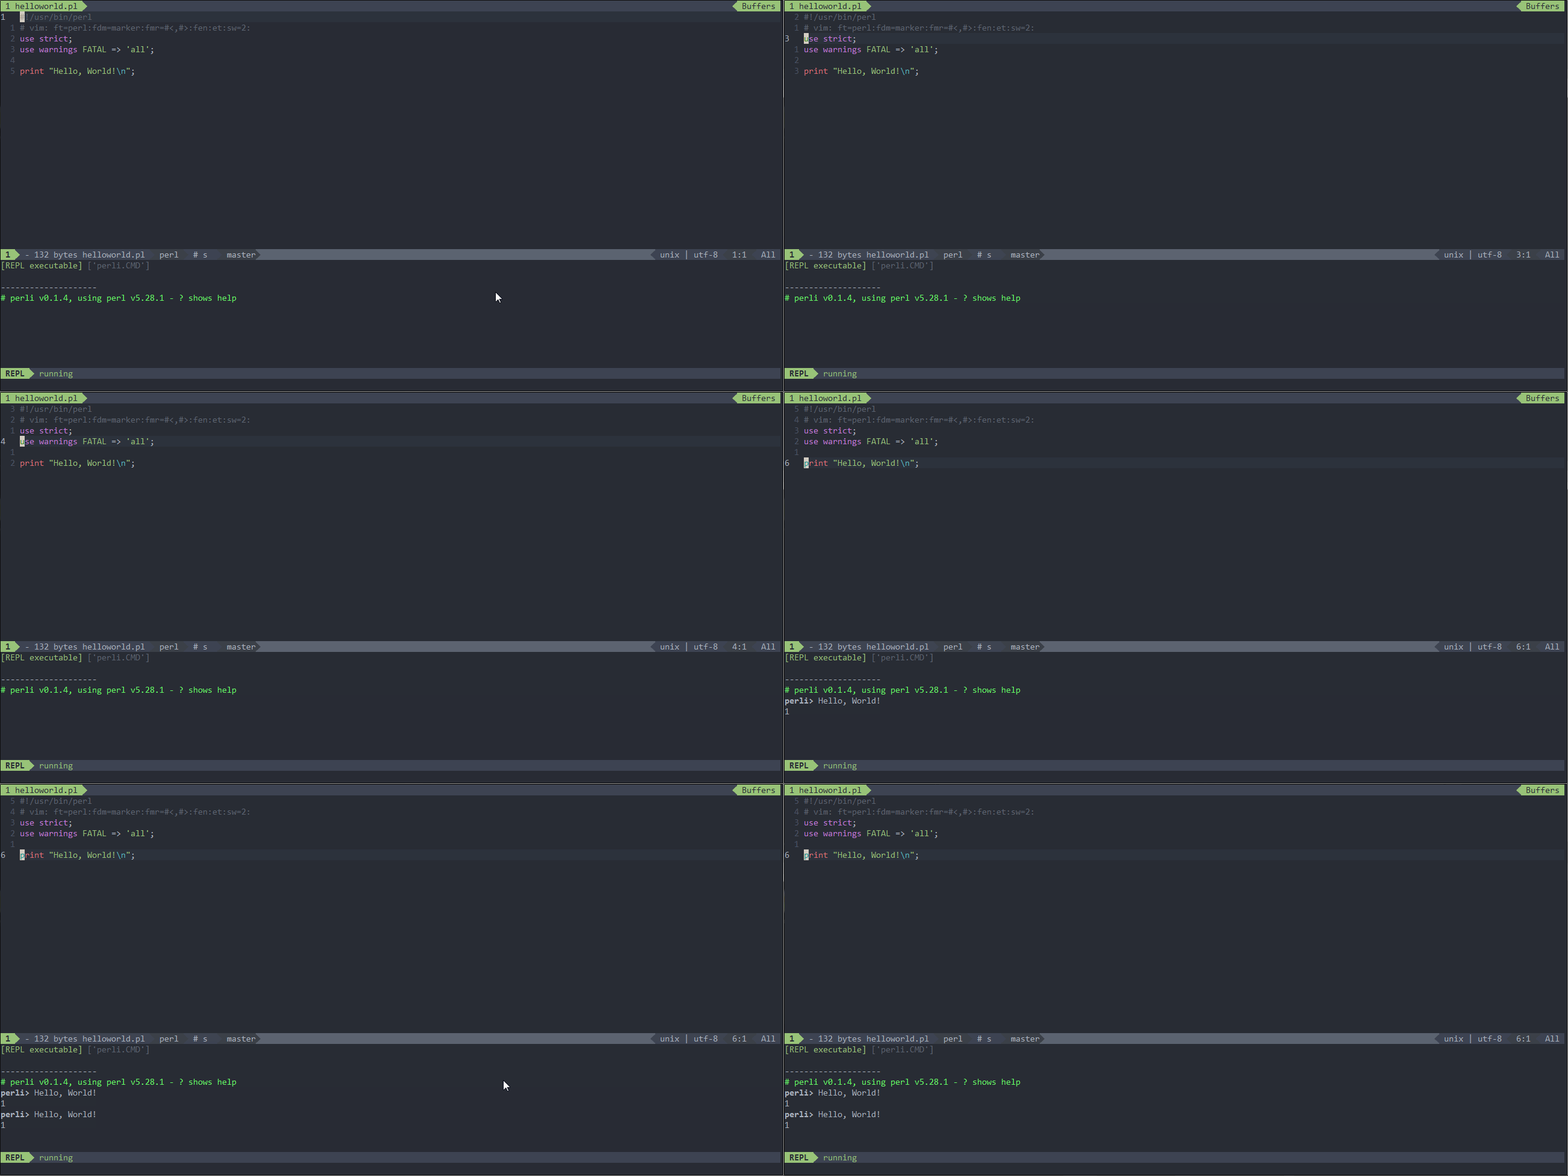
Start a perli or perl -del inferior REPL process with SPC l s i. After the REPL process being started, you can
send code to inferior process. All key bindings prefix with SPC l s, including sending line, sending selection or even
send whole buffer.
